I’m always fascinated by the crisp look of a well executed pen and ink drawing. I can say from experience that it takes talent and patience learning to master the many strokes, dots, vertical or horizontal hatching, continuous line, curved strokes, or a combination of any of these. However, the finished work can give a pen and ink artist a great sense of accomplishment. When you realize it, with a simple kit of supplies – a piece of paper, some ink, and a pen – artists have produced a plethora of artwork for hundreds of years.
Magazines, illustrations for books, and newspapers have often used finely rendered ink drawings. This was particularly true during the eighteenth and early nineteenth centuries.

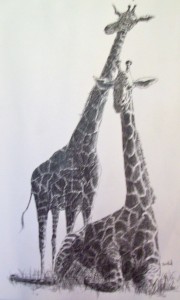
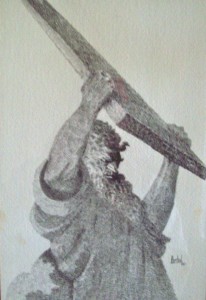
Pens are of two general types: dip pens and technical pens. Although I have a complete set of Koh-I-Nore Rapidograph pens, I often find myself falling back on my all time favorites, a regular dip pen and a smaller crow quill dip pen. With the dip style pen, you dip the tip into the ink, tap it on the inside of the bottle opening to get rid of excess ink, and draw until it needs refilling. It takes experience and more than a handful of failures to complete a drawing without blobs and splatters. Years ago, I drew the picture of giraffes and Moses. These are not my own compositions, but experimental copies. Trust me, every pen stroke, cross-hatch, and dot are mine. However, since the composition is not mine, I’ll never sell them.

Tip#1: Value: The essence of a well drawn pen and ink drawing is a carefully planned contrast of value.
Tip#2: Texture: By planning your stroking patterns, you can create a contrast of texture- crosshatching; pointillism (dots); hatching; continuous line; and curved strokes. By using a variety of strokes, creating texture, an artist can produce an exciting and active drawing.
